This article will explain how to install and configure VirtualBox to support an Windows OS and SQL Server and resolve the networking setting required to allow aColdFusion/Railo DSN connection.
On Host OS (Mac)
- Download and install Oracle VirtualBox
- Create a Host-only network adapter
- VirtualBox > Preferences... > Network > Host-only Networks > +
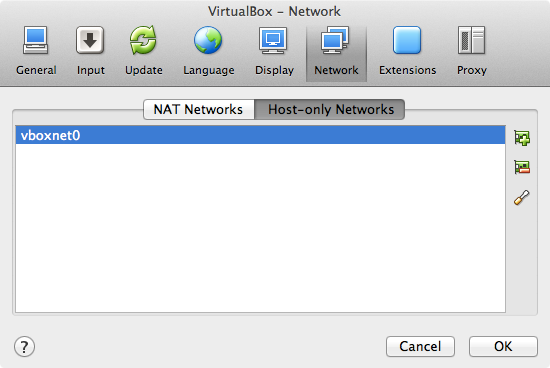
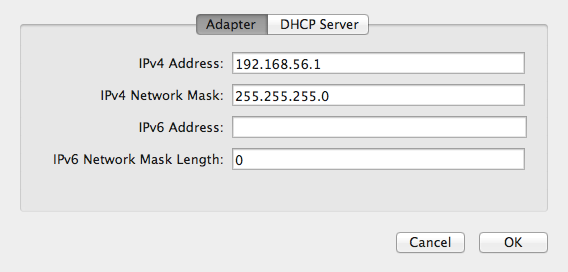
- Click the screwdriver edit icon and make note of the IP address assigned (192.168.56.1)
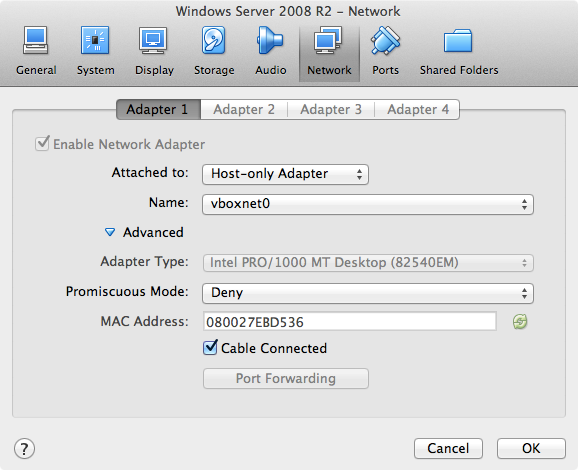
- Setup network adapter
- Machine > Settings... > Network > Adapter 1
- Set Attached to: Host-only Adapter
- Set Name: vboxnet0
-
If the VM needs internet access via the Host Mac OS then add a second Adapter and set it to Bridge Adapter
-
Test adapter is configured correctly
- Open Terminal
$ ipconfig vboxnet0vboxnet0: flags=8843<UP,BROADCAST,RUNNING,SIMPLEX,MULTICAST> mtu 1500ether 0a:00:27:00:00:00inet 192.168.56.1 netmask 0xffffff00 broadcast 192.168.56.255 -
Install Guest Windows OS
On Guest OS (Windows)
- Turn off firewall
- Start > Control Panel > System and Security > Windows Firewall > Turn Windows Firewall on or off > Turn off Windows Firewall

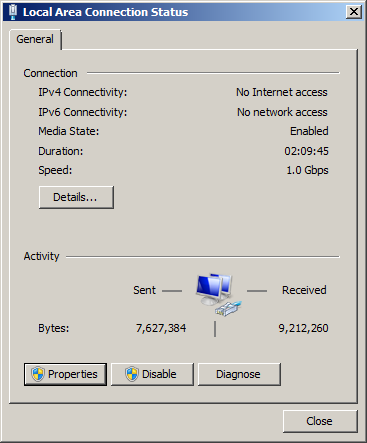
- Add Guest OS to the network
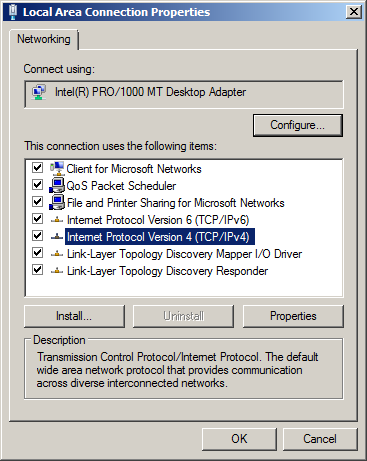
- Start > Control Panel > View network status and tasks > Local Area Connection > Properties > Internet Protocol Version 4 (TCP/IPv4) > Properties
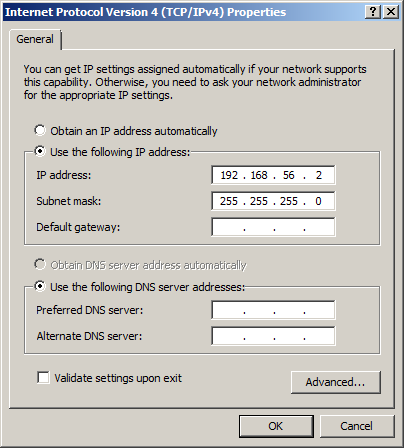
- Use the following IP address: 192.168.56.2
- Subnet mask: 255.255.255.0
- Install SQL Server
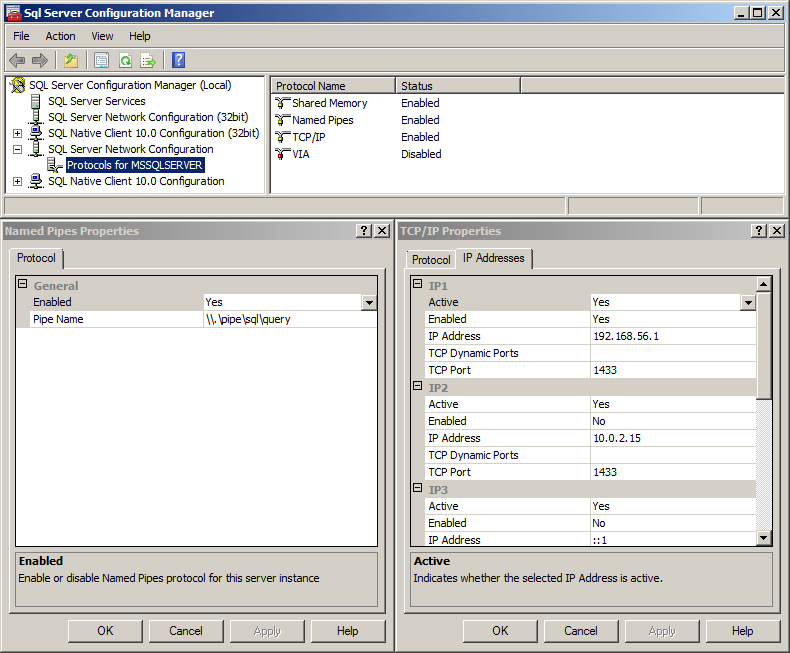
- Enable TCP/IP and Piping
- SQL Server Configuration Manager > SQL Server Network Configuration > Protocols for MSSQLSERVER > TCP/IP
- Protocol > Enabled - Yes
- IP Addresses > Active - Yes
- IP Addresses > Enabled - Yes
- IP Addresses > IP Address - 192.168.56.1
- SQL Server Configuration Manager > SQL Server Network Configuration > Protocols for MSSQLSERVER > Named Pipes > Enabled - Yes
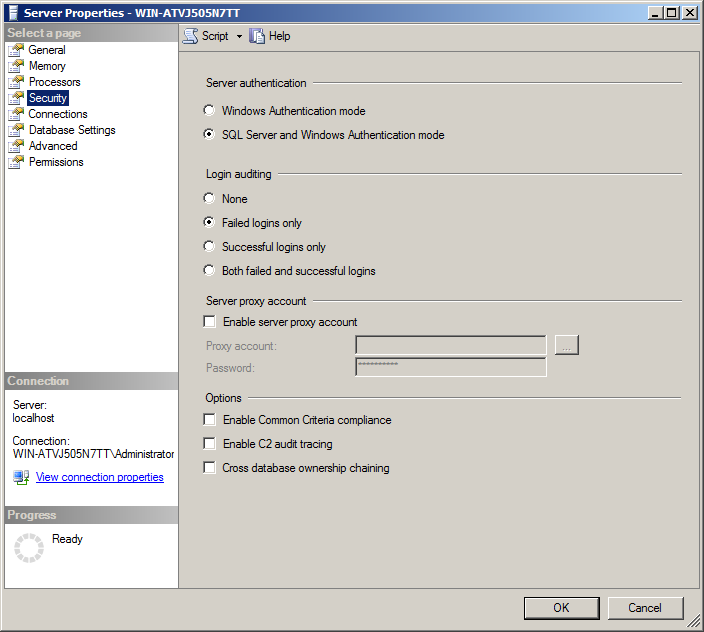
- Set SQL Server Authentication from Windows Authentication to SQL Server Authentication
- SQL Server Management Studio
- Right-click server name and select Properties
- Select Security
- Change Server authenication from Windows Authenication mode to SQL Server and Windows Authenication mode
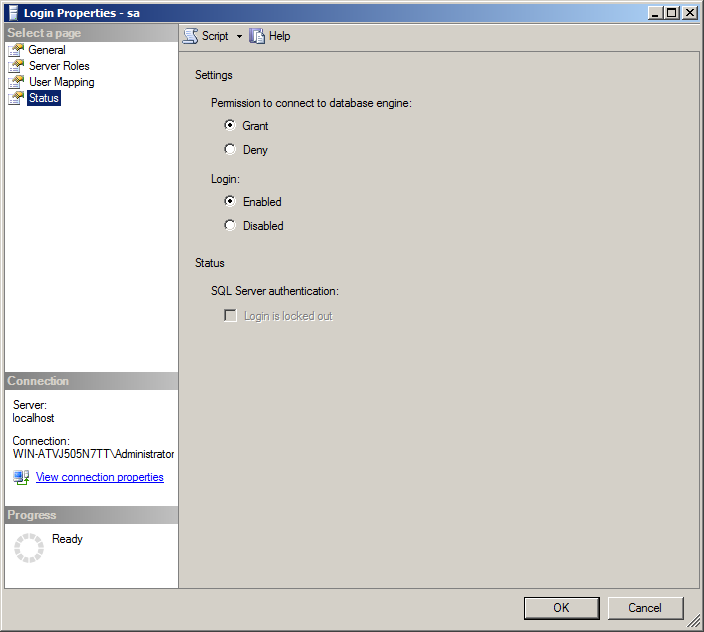
- SQL Server Management Studio
- In SQL Server Management Studio Object Explorer expand Security > Logins
- Double- click sa
- General > Choose SQL Server Authenication
- General > Set password
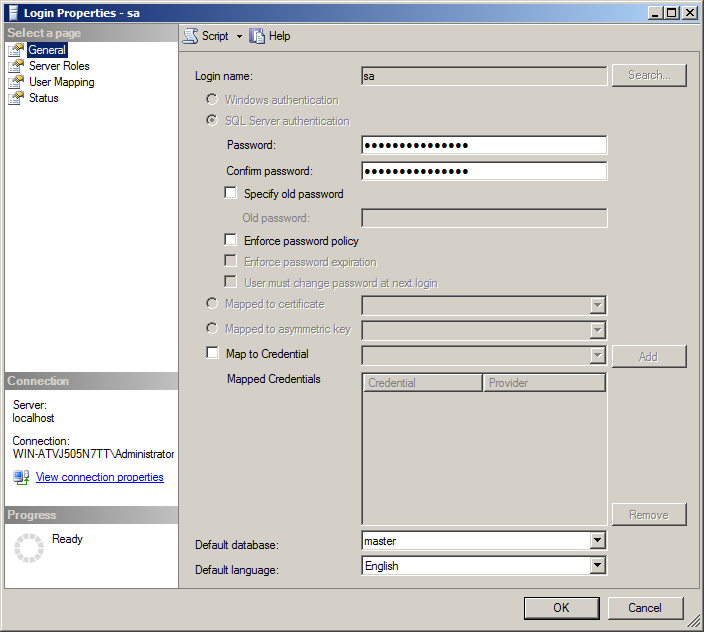
- Status > Login - Enabled